
How to Hang a Decorative Dish Wall: A Step-by-Step Guide
- Caitlin Loftus
- Feb 4
- 4 min read

Creating a decorative or vintage dish wall is a delightful way to showcase your unique style and treasure special pieces. Whether you’re displaying heirlooms, travel finds, or new favorites, a well-arranged plate wall can add charm and character to any space. Here’s how to do it with tips, tools, and a bit of personal flair.
Materials You’ll Need:
Plates and bowls of various sizes and designs
Paper for templates
Scissors
Painters tape or adhesive for securing templates to the wall
Pencil for marking nail holes
Nails, screws, and anchors (depending on plate weight)
Drill or hammer
Level (optional, for precision)
With these materials in hand, you’re ready to start planning your perfect plate wall!
Step 1: Collect Your Dishes

This is the fun part! Start by gathering plates and bowls that speak to you. My collection includes stunning pieces my soon-to-be mother-in-law gifted me from her travels to Singapore, some great finds from HomeGoods and Williams Sonoma, and a gorgeous Dior dessert plate with their Toile de Jouy Lion motif—a Christmas gift I’m obsessed with! Whether you’re mixing heirlooms with store-bought finds or curating a theme, choose pieces that bring you joy.
Step 2: Choose Your Hangers
There are two main options for hanging plates:


Wire Plate Hangers: These are adjustable, reliable, and reusable. They grip the edges of the plate securely, but the wires are visible. Since I was going for a Chinoiserie theme, the white wire plate hangers worked perfectly for me. However, if you’re aiming for a different aesthetic, there are options in silver and gold/brass tones to better match your design. Keep this in mind when planning your overall look.
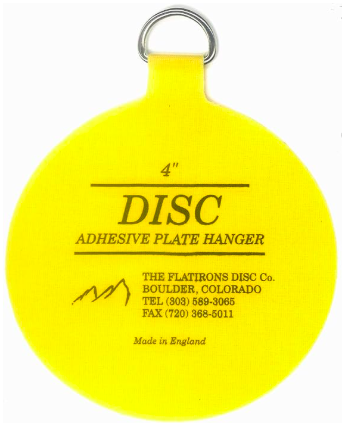
Disc Adhesive Plate Hangers: These adhesive hangers stick to the back of the plate, making them invisible once the plate is on the wall. However, they are not ideal if you plan to use the plate, as the ring prevents it from lying flat. Additionally, washing the plate could weaken the adhesive, making it less secure over time. This option is better suited for plates that will remain purely decorative.
*TIP*
Attach the disc adhesive plate hangers the night before, as they need time to fully cure. Trust me—this small step will save you from the frustration of having to pause your project midway when you were hoping to finish it all in one go (been there, learned that lesson).
For my plate wall, I used a mix of wire hangers and glue rings. Some of my plates had unusual shapes that worked better with glue rings, while others felt more secure with wire hangers. I’d be devastated if any of these plates fell, so I used anchor screws for the larger or more valuable ones to ensure they’re staying put.
Step 3: Plan Your Layout
Before you start drilling holes in your wall, take the time to plan your arrangement:


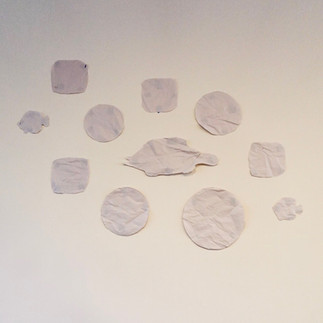
Trace and Cut Templates: Trace each plate onto a piece of paper and cut out the shapes. This will help you visualize your layout without making unnecessary holes.
Mark Nail Holes: Poke a hole in each template where the screw or nail will go. Trust me, do this before taping them up—I also learned this the hard way and had to redo my entire setup.
Tape Templates to the Wall: Arrange the paper templates on your wall, playing with the layout until it feels balanced. Leave a little room for future additions (because let’s be real—a shopping addiction waits for no one). The Dior plate, for example, was a later addition to my wall. I had intentionally left space for future plates, so if you notice some plates shifting positions in the photos, that’s why. Whether you stumble upon a perfect piece on a future trip, or receive a meaningful gift, you’ll have the perfect spot to display it.
Step 4: Hang the Plates
Once you’ve finalized the layout, it’s time to hang your plates:
Secure the Hangers: Attach wire hangers or adhesive rings to the plates as needed.
Use the Right Hardware: Choose nails, screws, or anchor screws depending on the size and weight of each plate. For heavier pieces, anchors are a must.
Hang the Plates: Follow the template markers to place your nails or screws, then carefully hang each plate. Adjust as needed to make sure everything looks even and secure.


Step 5: Admire Your Work
Step back and admire your beautiful new plate wall! You’ve created a display that blends form and function, allowing your personality to shine through. Not only does your wall look amazing, but you’ve also left room to add to your collection over time. Whether you stumble upon a perfect piece on a future trip or receive a meaningful gift, you’ll have the perfect spot to display it.
Hanging a vintage plate wall is more than just a design project; it’s a way to tell a story through the pieces you love. With thoughtful planning and the right tools, you’ll create a stunning display that’s as functional as it is stylish. Now, happy plate hunting!


Comentários